


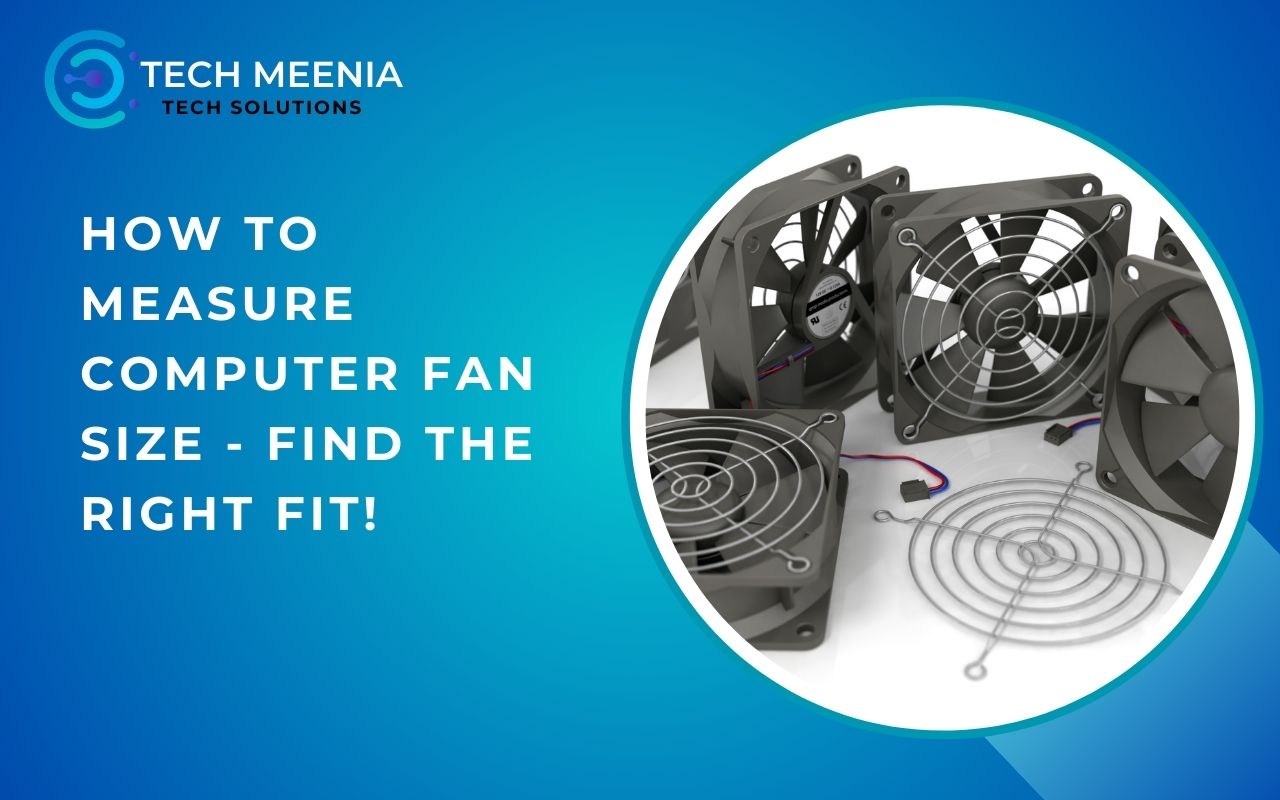
Understanding how to measure computer fan size is crucial when upgrading or replacing a cooling fan in your PC. A properly sized fan ensures optimal airflow, prevents overheating, and maintains overall system performance.
To measure computer fan size, measure across the fan’s frame in millimeters (mm) from one edge to the opposite edge. Common sizes are 80mm, 120mm, and 140mm. Also, check the mounting hole spacing to ensure compatibility.
If you install the wrong size, you could face compatibility issues, leading to inefficient cooling and increased noise levels.
Understanding Computer Fan Sizes!
Computer fans come in various sizes, with the most common being 80mm, 120mm, 140mm, and 200mm. These sizes determine how much air the fan can move, which directly impacts cooling efficiency. Larger fans tend to be quieter because they can move more air at lower speeds, whereas smaller fans need to spin faster, creating more noise.
Why You Need to Measure a Computer Fan?
Measuring the size of your computer fan is important to make sure it fits properly in your PC case or cooling system. If you are replacing a fan, you need to know the exact size so that it matches the pre-drilled holes for mounting. A fan that is too big or too small will not fit correctly, which can cause problems with installation and cooling. The size of the fan is usually measured in millimeters, with common sizes being 80mm, 120mm, and 140mm. Checking the size before buying a new fan saves time and avoids the hassle of returning the wrong one.
Knowing the size of your computer fan also helps you pick the right type of cooling for your system. Different fans have different airflow and static pressure levels, which affect how well they cool your PC. A larger fan usually moves more air at lower speeds, making it quieter, while a smaller fan may need to spin faster to provide good cooling. Some fans are better for pushing air through tight spaces, while others work best for general airflow inside the case. Choosing the right fan size ensures your computer stays cool and runs efficiently, preventing overheating and improving performance.
Tools Required to Measure a Computer Fan!
To measure a computer fan accurately, you’ll need:
- A measuring tape or ruler
- Digital calipers (for precision)
- A notebook to record your measurements
How to Measure Computer Fan Size Accurately?
1. Measuring Width and Height:
- Place the fan on a flat surface.
- Use a ruler or measuring tape to measure from one edge to the opposite edge.
- Most fan sizes are rounded to the nearest 10mm (e.g., a 120mm fan measures around 12cm).
2. Determining Fan Thickness:
- Standard fan thickness is usually 25mm, but some are 15mm or 38mm.
3. Checking Mounting Hole Distances:
- To verify compatibility, measure the separation between the mounting holes.
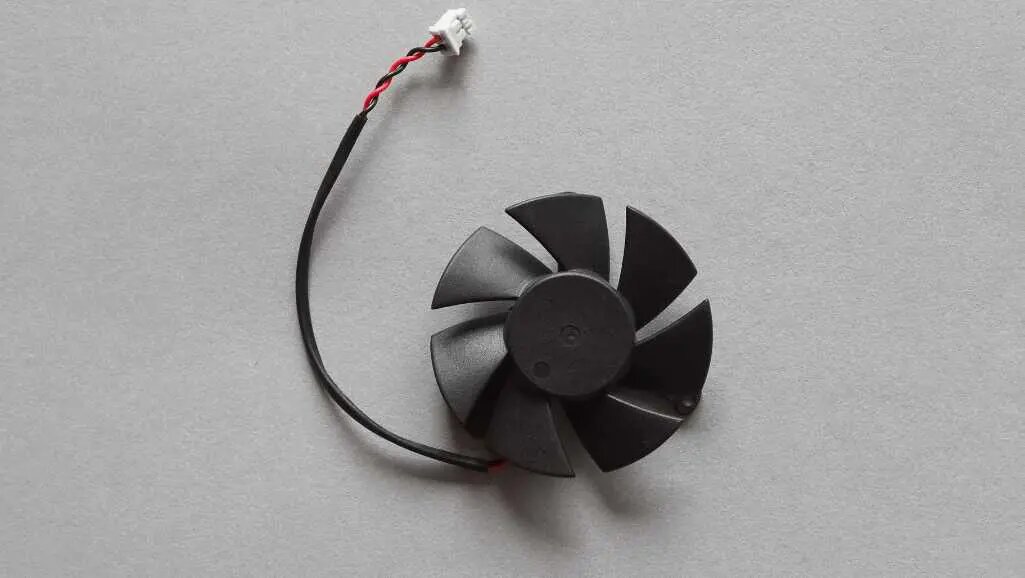
How to Identify Fan Connector Types?
Computer fans come with different types of connectors that determine how they receive power and how their speed is controlled. One common type is the 3-pin connector, which is designed for basic voltage control. This means the fan’s speed depends on how much voltage it gets from the motherboard or power supply. The three wires in this connector serve different functions: one wire provides power, another wire is for grounding, and the third wire sends speed-related signals. These fans usually run at a steady speed, and adjusting their speed requires changing the voltage manually. Since they lack advanced speed control features, they may not be as efficient in handling temperature changes in the computer system.
Another type of computer fan connector is the 4-pin connector, also known as a PWM (Pulse Width Modulation) connector. This type allows the motherboard to automatically adjust the fan’s speed based on the computer’s temperature. The fourth pin in this connector is responsible for sending speed control signals, which help the fan adjust its speed smoothly as needed. This feature makes 4-pin fans more efficient because they can run at a lower speed when the system is cool and increase speed when the temperature rises. As a result, these fans help maintain better cooling while reducing unnecessary noise and power usage. Many modern computer systems prefer 4-pin PWM fans because they provide better cooling management and quieter operation compared to 3-pin fans.
Common Computer Fan Sizes and Their Uses!
- 80mm Fans – Used for small form factor cases.
- 120mm Fans – Standard for most PC cases.
- 140mm Fans – Provide better airflow at lower noise levels.
- 200mm Fans – Found in high-performance gaming PCs.
How to Choose the Right Fan for Your PC?
1. Airflow (CFM) – More Air Means Better Cooling:
When picking a fan, check the airflow, measured in CFM (Cubic Feet per Minute). A higher CFM means the fan moves more air, helping to cool your system faster and better.
2. Static Pressure – Needed for Radiators and Heatsinks:
If you are using a fan for a radiator or heatsink, static pressure is important. Fans with high static pressure push air through tight spaces, making them great for cooling these parts.
3. Noise Level (dBA) – Quieter Fans Are Better:
Fans make noise, measured in dBA (decibels). A lower dBA means the fan is quieter, making your setup more comfortable without loud whirring sounds.
How to Install a Computer Fan Correctly?
When installing the fan, make sure to position it correctly so that it lines up with the mounting holes on your device. Carefully hold the fan in place and check that it is facing the right direction for proper airflow. Once you have aligned it properly, take the screws and insert them into the holes to secure the fan firmly. Tighten the screws gently but firmly to ensure the fan stays in place without wobbling or coming loose over time.
After securing the fan, the next step is to connect it to the power source. Locate the appropriate connector on the motherboard or power supply. If you are connecting the fan to the motherboard, find the designated fan header and gently plug in the connector, making sure it fits properly. If you are using the power supply, connect the fan using the right cable or adapter. Once connected, double-check that the fan is firmly attached and all connections are secure.
How to Maintain and Clean Your Computer Fan?
- Use compressed air to remove dust.
- Lubricate the bearings if needed.
When to Replace a Computer Fan?
If the fan is making too much noise or completely stops spinning, it could mean there is a problem that needs to be fixed. Sometimes, dust and dirt build up inside the fan, causing it to make loud sounds or stop working properly. In other cases, a loose or broken part inside the fan may be the reason for the noise. If the fan has been running for a long time without cleaning, the dirt can cause extra strain on the motor, making it harder for the fan to spin. Over time, this can lead to the fan stopping altogether. Checking the fan for any blockages, cleaning it regularly, and making sure all parts are secure can help keep it working smoothly and quietly.
If the airflow from the fan has become much weaker than before, there may be an issue that needs attention. A clogged filter, dust buildup, or a malfunctioning motor can reduce the fan’s ability to push air properly. When airflow is blocked, the fan has to work harder, which can cause overheating and damage over time. If the fan is used in a room with a lot of dust or pet hair, it might need frequent cleaning to maintain good airflow. Making sure the fan blades are clean, the vents are not blocked, and the motor is functioning well can help restore proper airflow and keep the fan running efficiently.
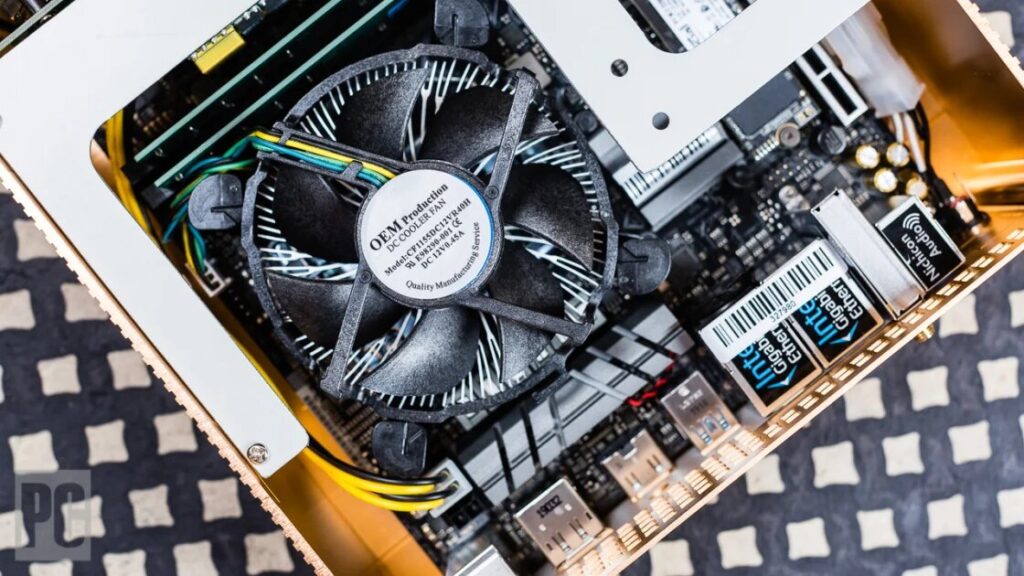
How to Measure a Laptop Cooling Fan?
1. Laptop Fans Come in Custom Sizes:
Laptop fans are made in different sizes, and many are custom-sized for specific laptop models. This means they may not be the same size as regular computer fans.
2. Get the Right Fan for Your Laptop:
To replace a laptop fan, you should buy the exact one made for your laptop. The best way to do this is to get a replacement from the manufacturer to ensure it fits and works properly.
Troubleshooting Common Fan Issues!
- Fan making noise? Check for dust buildup or loose screws.
- Fan not spinning? Ensure it’s properly connected and powered.
FAQs:
1. How do I know what size fan my PC needs?
Check your PC case manual or measure the existing fan.
2. What happens if I install the wrong size fan?
It may not fit properly, leading to poor cooling performance.
3. Are larger fans better for cooling?
Generally, yes. They move more air at lower speeds, reducing noise.
4. Can I use any fan in my PC case?
No, you need to match the mounting hole alignment and power connector.
5. How often should I clean my computer fan?
Every 2-3 months to prevent dust buildup and overheating.
Conclusion:
Measuring your computer fan size is an essential step when replacing or upgrading your PC cooling system. Using a simple measuring tape or ruler, you can ensure you get the right fit for optimal airflow and performance.
Also Read:
- Proxmox Cpu Type Host – A Complete Guide!
- Does Parsing Csv Files Hit The Cpu Hard – Optimize Your Performance!
- What Cpu Does The Omen 25l Gt15 1075t Have Spec – Keep Reading To Find Out More!
- How To Test If Your Cpu Has Bad Cores – An Ultimate Guide!
- Does Game Latency Cpu Mean Fps – Dive In Now To Boost Your Fps And Enjoy Smoother Gameplay!


